

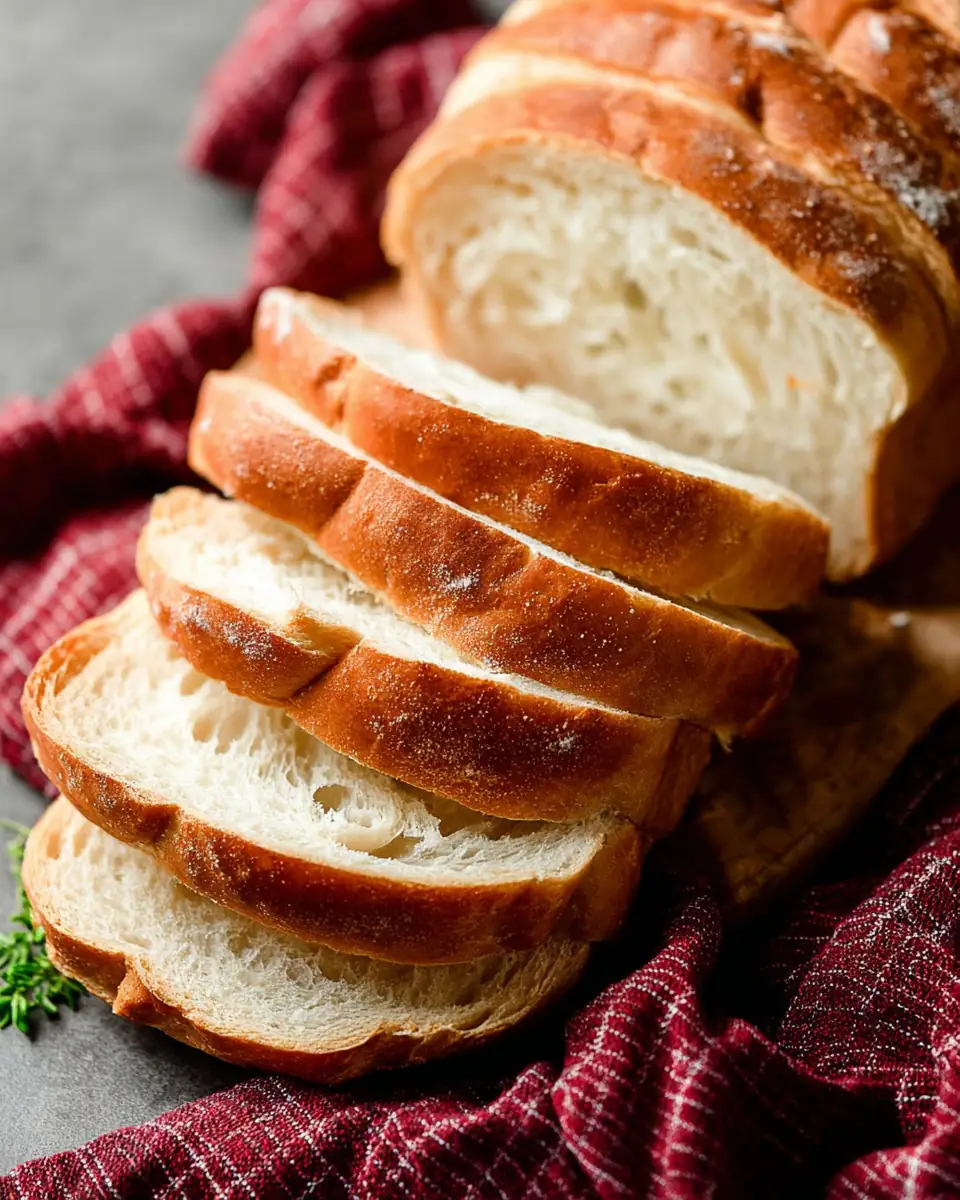
Simply Sandwich Bread: A Staple for Every Kitchen
The art of bread-making is as ancient as civilization itself, dating back thousands of years. Yet, it remains a domestic art that is cherished in modern kitchens around the world. For those who value the comforting aroma of freshly baked bread filling their homes, the Simply Sandwich Bread recipe is destined to become a kitchen staple. With its soft, slightly chewy texture and a flavor profile that is both buttery and subtly sweet, this bread is ideal for a variety of uses, including sandwiches, toast, or simply enjoyed warm with a pat of butter. Whether you’re an experienced baker or trying your hand at bread-making for the first time, this comprehensive guide will walk you through each step of the process, ensuring success.
Ingredients You’ll Need:
- 1 cup (240ml) water: Warmed to about 110°F (43°C)
- 1/4 cup (60ml) whole milk: Warmed to about 110°F (43°C)
- 2 and 1/4 teaspoons (7g) Platinum Yeast from Red Star instant yeast: (1 standard packet)
- 2 Tablespoons (25g) granulated sugar
- 4 Tablespoons (1/4 cup; 56g) unsalted butter: Softened to room temperature
- 1 and 1/2 teaspoons salt
- 3 and 1/3 cups (about 420–430g) all-purpose flour or bread flour: Spooned & leveled, plus more as needed
Understanding the Ingredients:
Each ingredient in this recipe plays a crucial role in yielding the perfect loaf. Water and milk provide the necessary moisture for the dough, while the milk also contributes to a tender crumb due to its fat content. Yeast, a living organism, is responsible for fermentation, which causes the dough to rise and develop flavor. Sugar not only adds a hint of sweetness but also feeds the yeast, enhancing its activity. Butter enriches the dough, imparting a rich flavor and soft texture. Salt balances the flavors and strengthens the dough structure, while flour serves as the foundation, providing the necessary proteins and starches.
Preparing Your Bread
Step 1: Prepare the Dough
Begin by whisking the warm water, warm milk, yeast, and sugar together in your stand mixer bowl fitted with a dough hook attachment. Cover this mixture and let it sit for 5 minutes to activate the yeast. This step is crucial as it confirms that your yeast is alive and active. You should notice a frothy layer on the surface, indicating that the yeast is feeding on the sugar and producing carbon dioxide.
Step 2: Add Ingredients
Add the softened butter, salt, and 1 cup of flour to the yeast mixture. Beat on low speed for 30 seconds. Scrape down the bowl, add another cup of flour, and beat on medium speed until relatively incorporated. Continue by adding the remaining flour and beat until the dough pulls away from the bowl’s sides, about 2 minutes. At this stage, the dough should begin to form a cohesive mass.
Step 3: Kneading the Dough
Continue to knead the dough in the mixer for an additional 5–8 minutes, or knead by hand on a lightly floured surface. The dough should be soft and slightly tacky. Avoid adding excess flour; only add enough to prevent sticking. To test if the dough is ready, poke it—if it slowly bounces back, it’s ready to rise. Alternatively, perform a “windowpane test” by stretching a small piece of dough until light passes through without tearing. Proper kneading develops the gluten network, which is essential for the bread’s structure and texture.
Step 4: First Rise
Grease a large bowl with olive oil or nonstick spray and place the dough inside, turning to coat it. Cover and allow the dough to rise in a warm environment until it doubles in size, about 1-2 hours. This initial rise, or “proofing,” allows the yeast to ferment, developing flavors and creating gas bubbles that will make the bread light and airy. The ideal temperature for proofing is around 75°F (24°C).
Step 5: Shape the Bread
Once risen, punch down the dough to release air. On a floured surface, roll the dough into an 8×15 inch rectangle. Roll it into an 8-inch log and place in a greased 9×5-inch loaf pan. This step requires a gentle touch to avoid deflating the dough too much. Proper shaping ensures an even crumb and a beautiful loaf shape.
Step 6: Second Rise
Cover the shaped loaf and let it rise until it reaches about 1 inch above the loaf pan, approximately 1 hour. This second rise, or “proof,” allows the dough to relax and expand, resulting in a tender crumb and optimal volume. A properly proofed loaf should have a slight jiggle when the pan is gently shaken.
Step 7: Baking the Bread
Preheat the oven to 350°F (177°C), ensuring the rack is in a lower position. Bake the bread for 32-36 minutes until the top is golden brown. If needed, loosely tent with foil to prevent over-browning. The bread is done when it sounds hollow when tapped or reaches an internal temperature of 195–200°F (90–93°C). These indicators ensure that the bread is fully baked and has a well-developed crust.
Step 8: Cooling
Allow the bread to cool for a few minutes in the pan on a cooling rack before removing it. Slice when cool or store as desired. Cooling is essential as it allows the crumb to set fully, making slicing easier and preventing the bread from becoming gummy.
Tips for Success
- Freezing Instructions: You can freeze the shaped or baked loaf for up to 3 months. Thaw and bake or reheat as needed. Freezing is a great way to preserve the freshness of homemade bread and ensures you always have a loaf on hand.
- Overnight Instructions: Prepare the dough and allow it to rise overnight in the refrigerator for a fresh morning bake. This slow fermentation process enhances the flavor and can be more convenient for busy schedules.
- Flour Choice: Both all-purpose and bread flour work, though bread flour yields a chewier texture due to its higher protein content. Experiment with both to see which you prefer.
- Doubling the Recipe: For best results, make separate batches, but adjustments can be made for larger quantities. When scaling up, ensure your mixer can handle the increased volume to avoid overloading.
The Joy of Homemade Bread
This Simply Sandwich Bread is more than just a recipe; it’s an invitation to explore the art of bread-making in your home. The tactile process of kneading, the anticipation of the rise, and the satisfaction of slicing into a freshly baked loaf are experiences that connect us to the past and to one another. Bread has long been a symbol of sustenance and community, and by mastering this recipe, you’re not just making bread—you’re creating tradition.
The straightforward steps and versatile nature of this recipe make it a reliable choice for any occasion. Whether you enjoy it as the base of a hearty sandwich, toasted with your favorite spread, or simply warm from the oven with a touch of butter, this bread will quickly become a beloved fixture in your culinary repertoire.
Troubleshooting Common Issues
- Dense Loaf: If your bread is denser than expected, ensure your yeast is fresh and active. Also, be cautious not to add too much flour during kneading.
- Uneven Texture: Proper kneading and sufficient rising times are key to achieving an even crumb. Ensure the dough is adequately proofed before baking.
- Crust Too Hard: If you prefer a softer crust, try brushing the loaf with melted butter immediately after baking.
Exploring Variations
As you become more comfortable with the basic recipe, consider experimenting with variations to enhance the flavor and texture of your bread. Adding herbs like rosemary or thyme can bring a fragrant twist, while incorporating seeds such as sunflower, poppy, or sesame seeds can provide a delightful crunch. For a sweeter loaf, consider mixing in a handful of raisins or cranberries along with a touch of cinnamon.
Nutritional Benefits of Homemade Bread
Baking your own bread comes with a host of nutritional advantages. By preparing bread at home, you have complete control over the ingredients, allowing you to avoid additives and preservatives typically found in store-bought bread. Additionally, using whole grain or enriched flours can increase the fiber and nutrient content of your loaf. Homemade bread also tends to be lower in sodium, making it a healthier choice for those mindful of their salt intake.
The Cultural Significance of Bread
Bread is more than just a food item; it holds cultural and symbolic significance across the globe. From the French baguette and Italian ciabatta to Indian naan and Middle Eastern pita, each culture brings its own unique twist to bread-making. Understanding these cultural connections can enrich your baking experience, offering insight into the diverse ways bread is enjoyed and celebrated worldwide.
Conclusion
Baking bread is a journey that blends science and art, and this Simply Sandwich Bread recipe offers a perfect starting point. With patience and practice, you’ll refine your technique and develop a deeper appreciation for this timeless craft. Embrace the process, enjoy the aroma, and savor the results of your labor. Happy baking!


Simply Sandwich Bread

A classic sandwich bread recipe that results in a soft and delicious loaf, perfect for everyday sandwiches and toast.
- Electric Stand Mixer
- 9×5-inch loaf pan
- Rolling Pin
Dough
- 240 ml water (warmed to about 110°F (43°C))
- 60 ml whole milk (warmed to about 110°F (43°C))
- 7 g Platinum Yeast from Red Star instant yeast (1 standard packet)
- 25 g granulated sugar
- 56 g unsalted butter (softened to room temperature)
- 1.5 tsp salt
- 430 g all-purpose flour or bread flour (spooned & leveled, plus more as needed)
- Whisk the warm water, warm milk, yeast, and sugar together in the bowl of your stand mixer fitted with a dough hook attachment. Cover and allow to sit for 5 minutes.
- Add the butter, salt, and 1 cup flour. Beat on low speed for 30 seconds, scrape down the sides of the bowl with a silicone spatula, then add another cup of flour. Beat on medium speed until relatively incorporated. Add the remaining flour and beat on medium speed until the dough comes together and pulls away from the sides of the bowl, about 2 minutes.
- Keep the dough in the mixer and beat for an additional 5–8 minutes, or knead by hand on a lightly floured surface for 5–8 minutes. If the dough becomes too sticky during kneading, sprinkle 1 tsp of flour at a time on the dough to make a soft, slightly tacky dough.
- Lightly grease a large bowl with olive oil or nonstick spray. Place the dough in the bowl, turning it to coat all sides in the oil. Cover the bowl and allow the dough to rise in a relatively warm environment for 1-2 hours or until double in size.
- Grease a 9×5-inch loaf pan. Punch down the dough to release the air, then roll the dough out into a large rectangle and roll it up into an 8 inch log and place in the prepared loaf pan.
- Cover shaped loaf and allow to rise until it’s about 1 inch above the top of the loaf pan, about 1 hour.
- Preheat oven to 350°F (177°C). Bake for 32-36 minutes or until golden brown on top. If the top browns too quickly, loosely tent the pan with aluminum foil.
- Remove from the oven and allow bread to cool for a few minutes in the pan on a cooling rack before removing the bread from the pan and slicing.
This bread freezes well. To freeze, prepare the recipe through the 2nd rise, then wrap tightly and freeze. Thaw and bake as directed.

